Appearance
Qualiteam ↔ Telegram Integration (Step-by-step Guide)
1. Connect a Telegram account
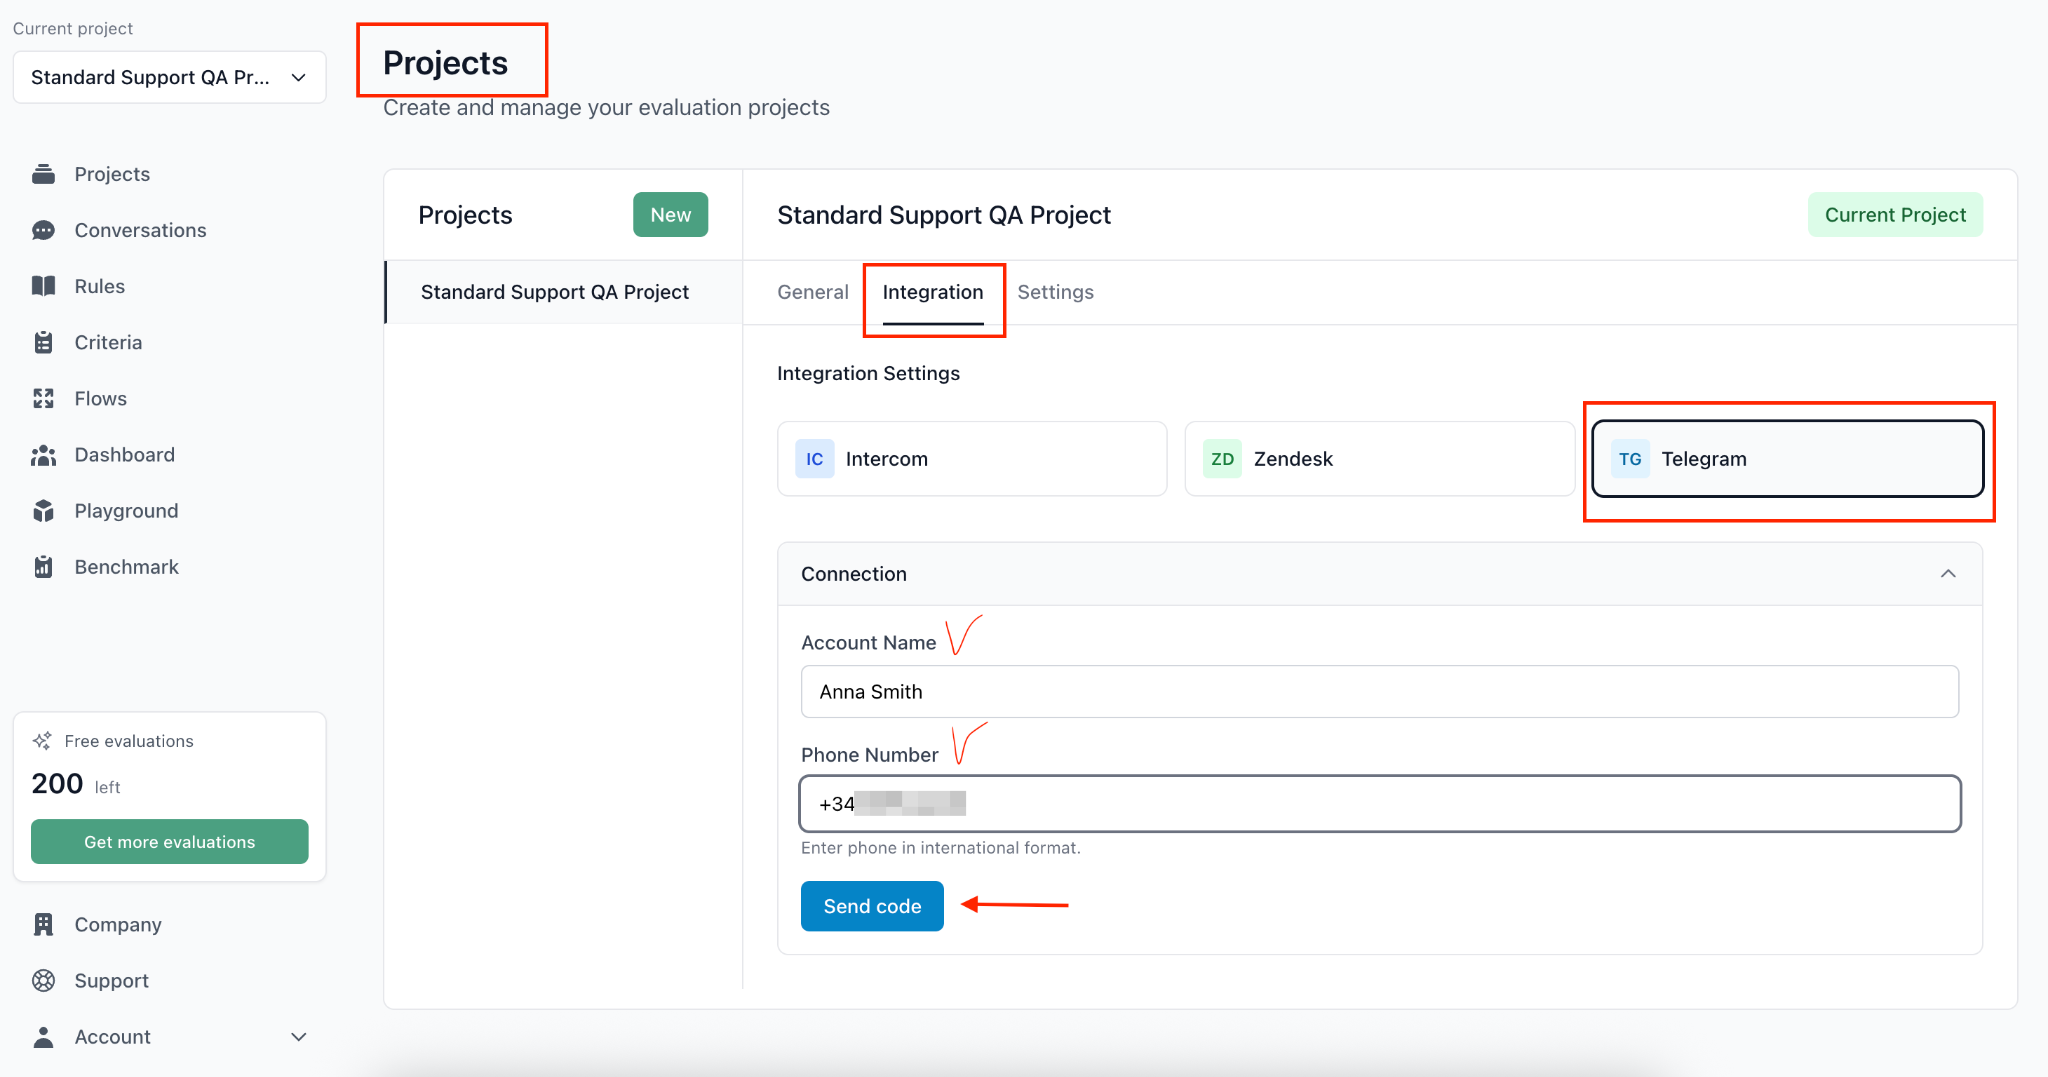
Open the project integration settings: In the left sidebar, open Projects, select the project you want (e.g., Standard Support QA Project) and go to the Integration tab. In Integration Settings, choose Telegram.
In the Connection section, fill in:
Account Name — a clear name (e.g., Support Bot, Agent Account, Anna Smith, etc.).
Phone Number — in international format (e.g.,
+.....).Click Send code.
Enter the code you received from Telegram and click Verify code.
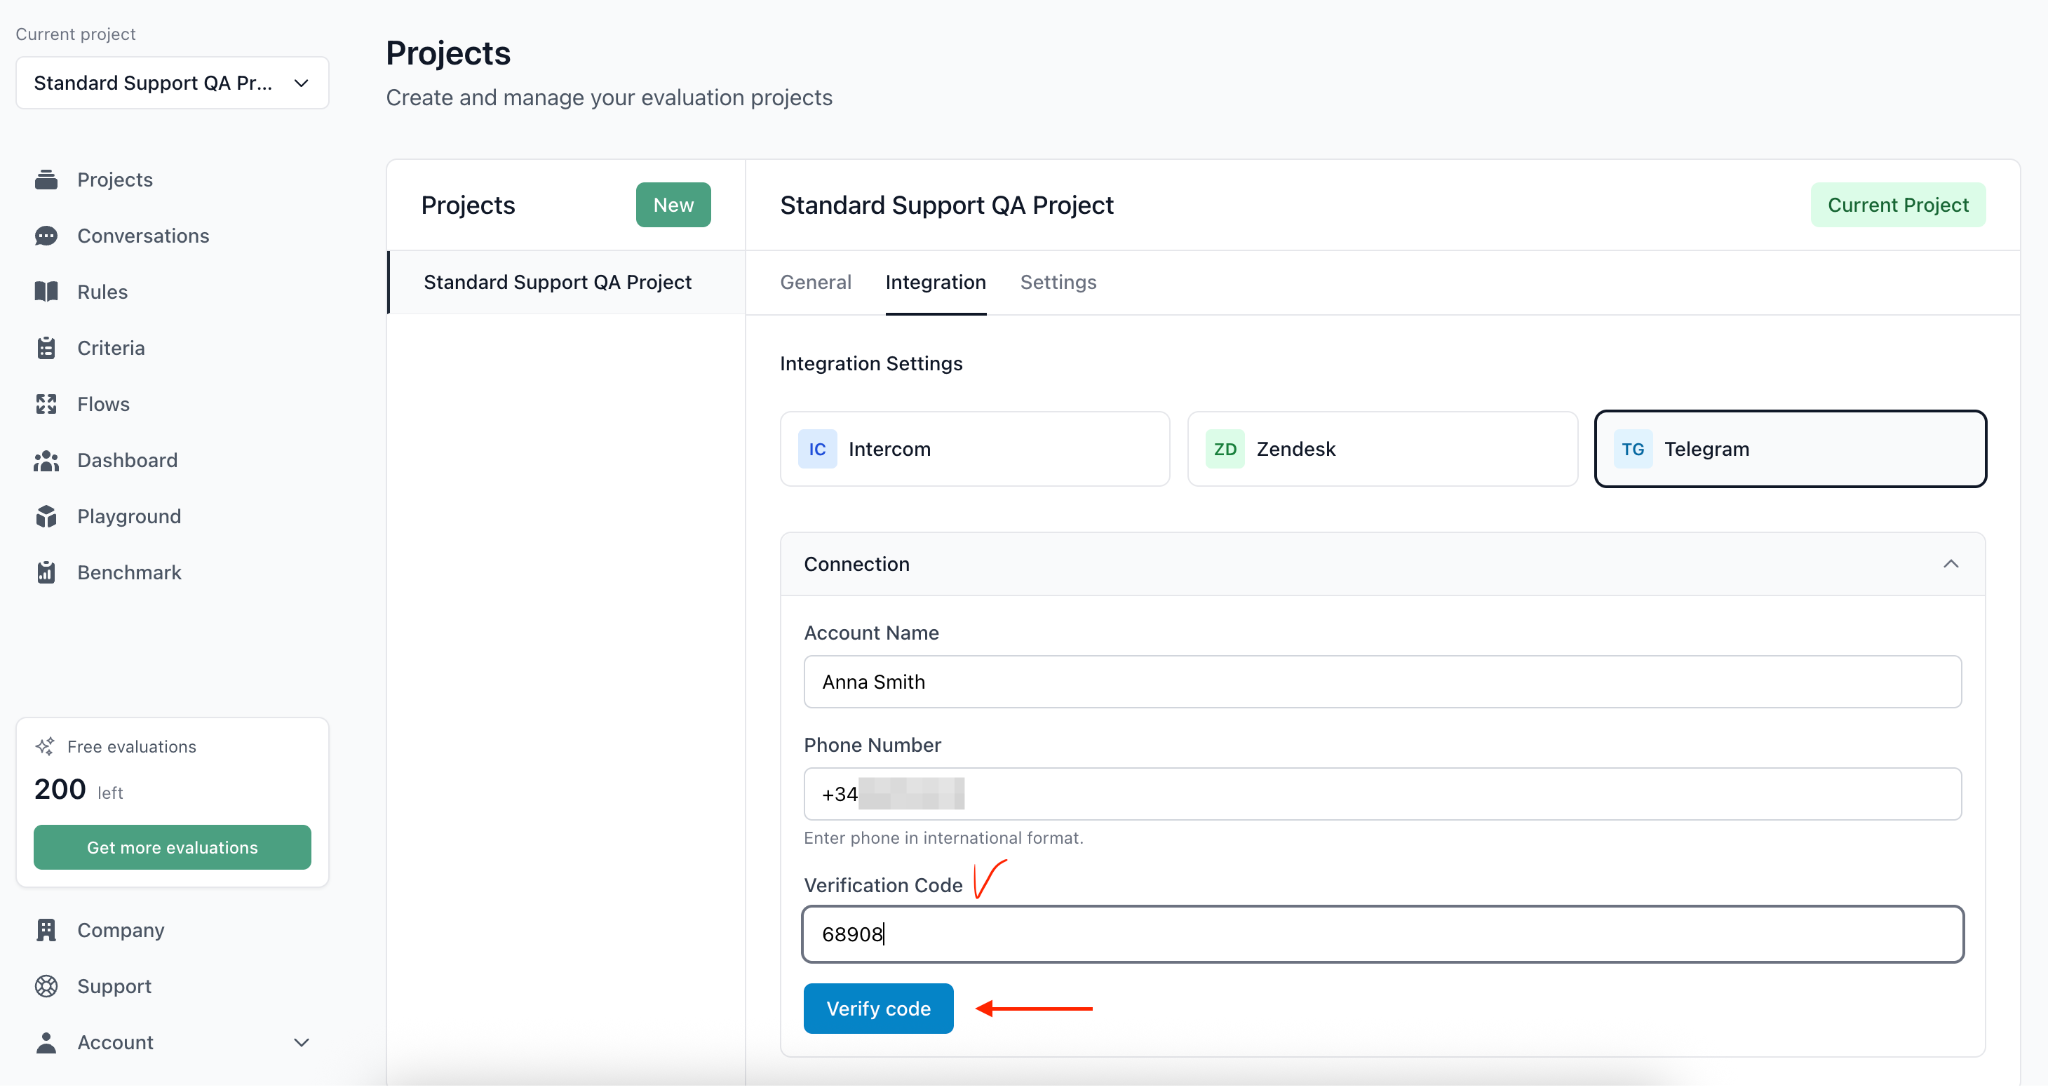
If you have 2FA enabled in Telegram, also enter your password when prompted.
✅ After successful verification, the section header will show Connected, and you’ll see Existing Accounts below
- The connected account will show Connected and have an Active badge.
- You can disconnect it using Disconnect.
- You can connect another account via + Add account (if you need multiple sources).

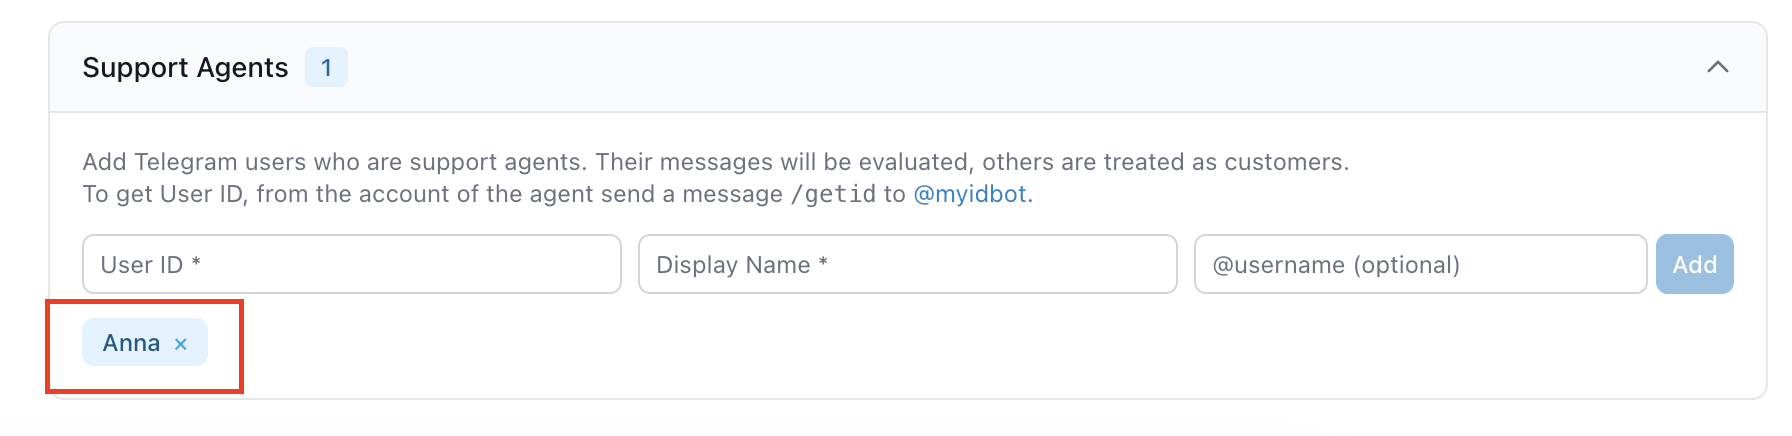
2. Add Agents
To make sure Qualiteam correctly distinguishes support agents from customers in Telegram:
Agent messages will be evaluated,
Everyone else will be treated as customers.
- Scroll to the Agents section.
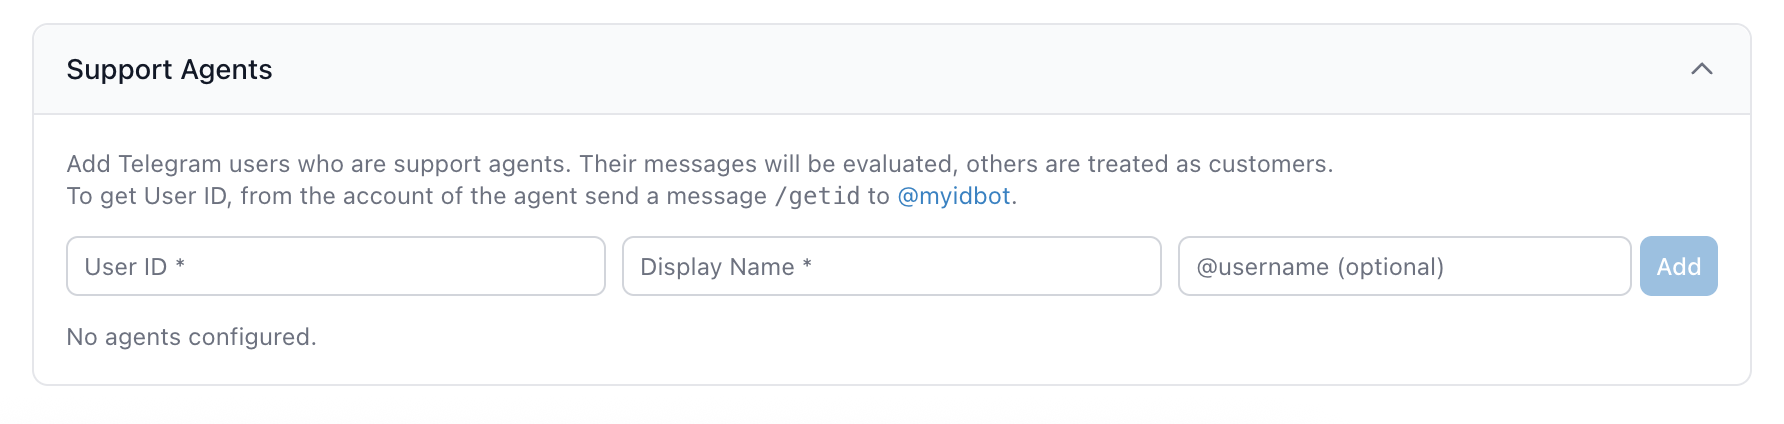
Get the agent’s User ID:
- From the agent’s Telegram account, send
/getidto @myidbot.
- From the agent’s Telegram account, send
In Qualiteam, fill in:
User ID — the numeric ID returned by @myidbot,
Display Name — the agent’s name (how it will appear in Qualiteam service),
@username — optional.
Click Add.
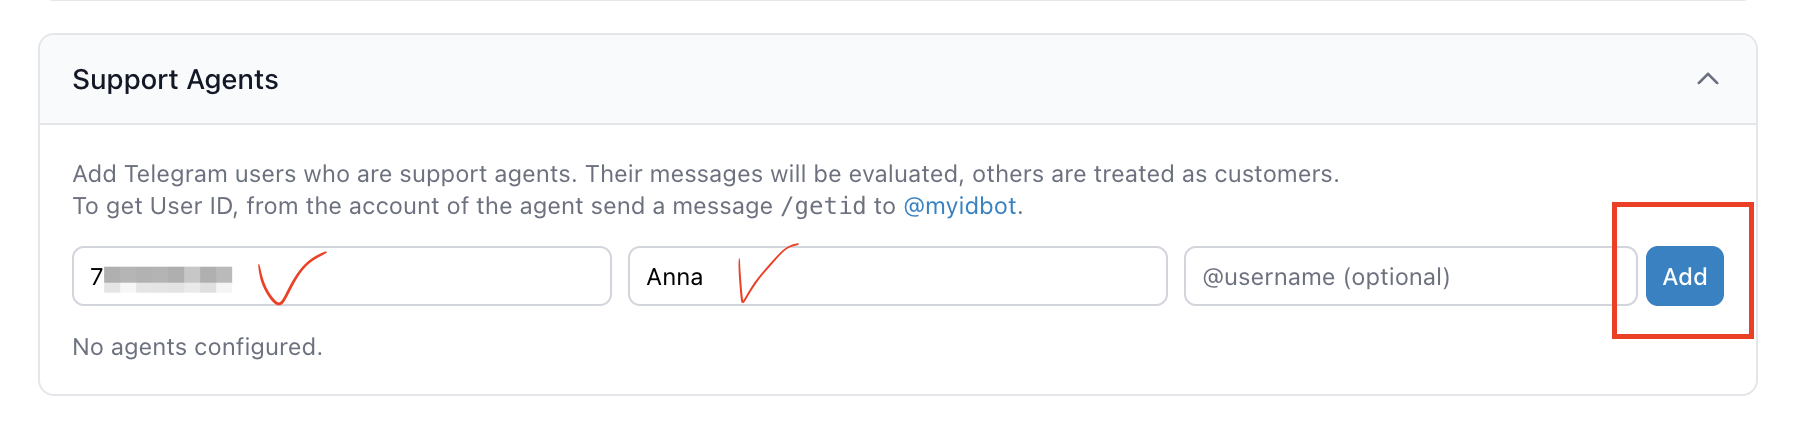
✅ The agent will appear in the list (as a chip/tag). Remove with the × on the chip.
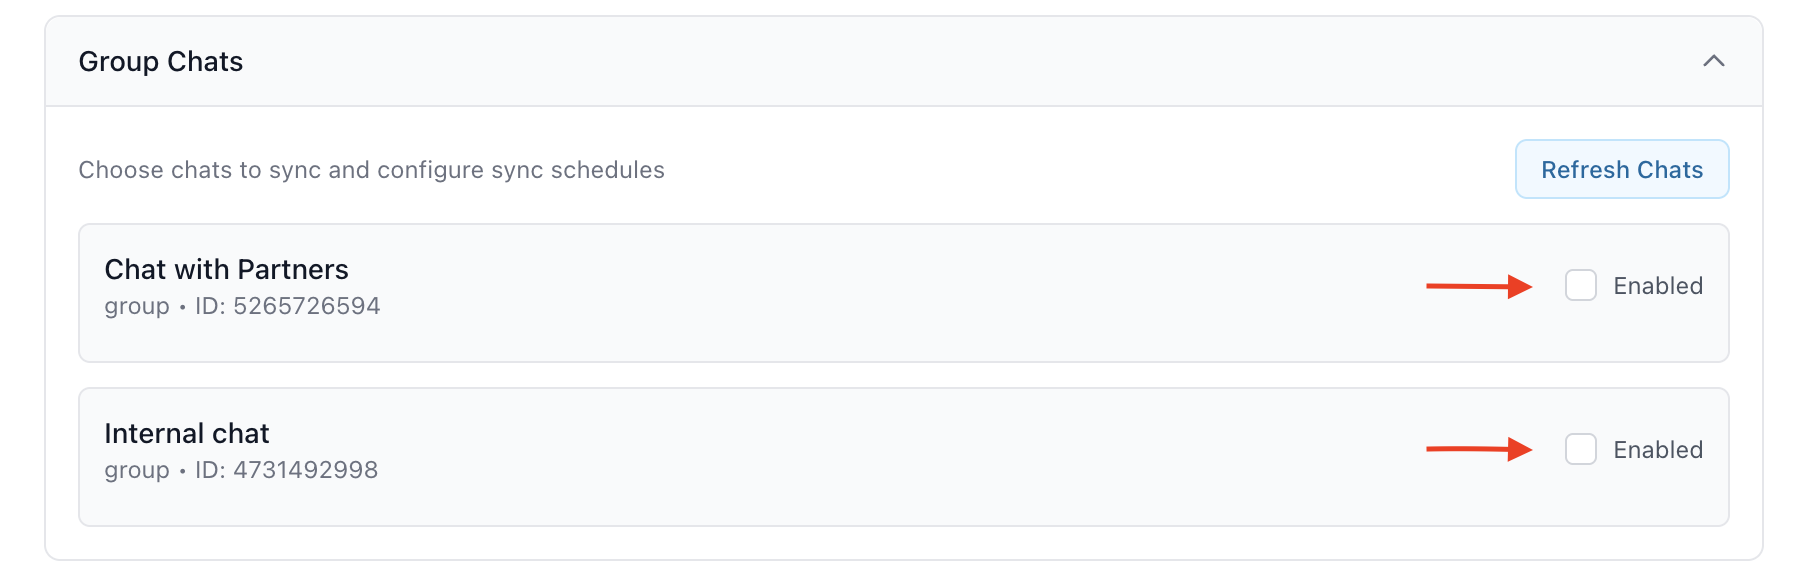
3. Turn On Periodic Evaluation for Group Chats
Scroll to the Group Chats section and click Refresh Chats — Qualiteam will fetch the list of available Telegram groups.

Turn on periodic evaluation for the chats you want by checking Periodic evaluation next to each chat.
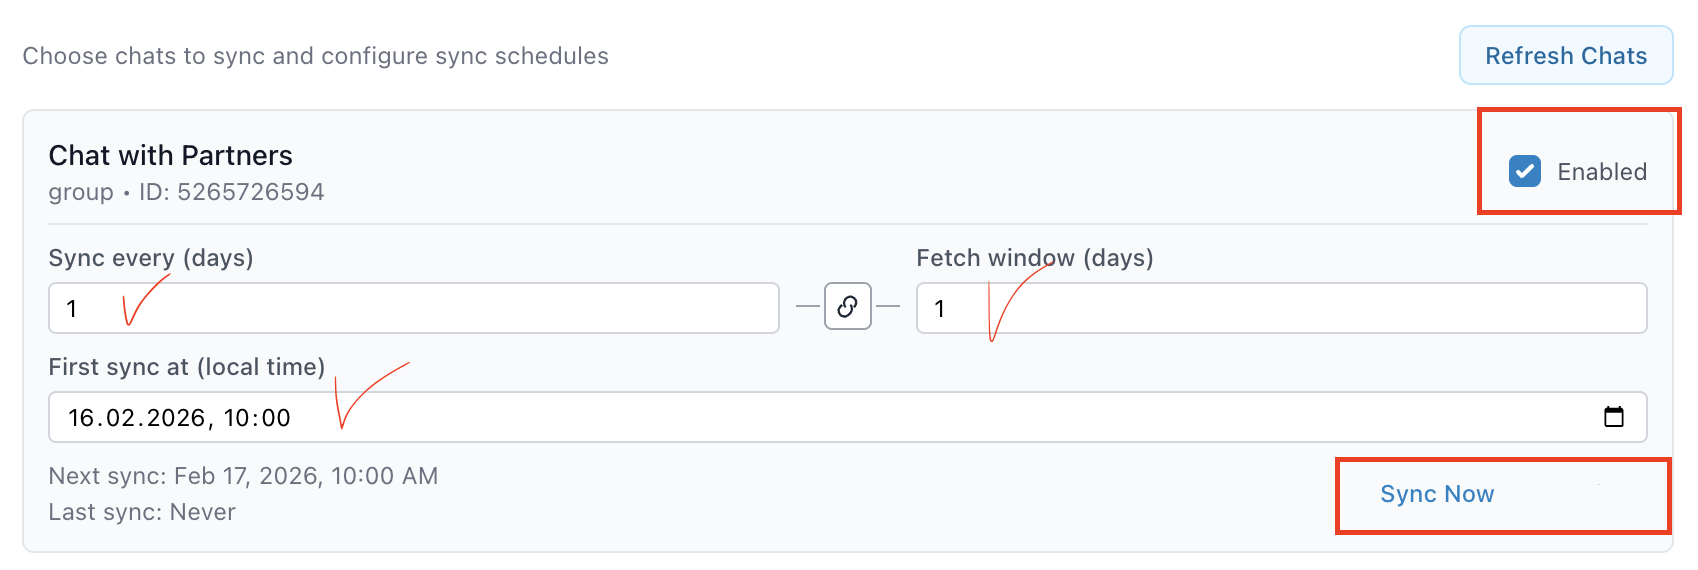
After turning on periodic evaluation for a chat, you’ll see sync settings:
Sync every (days) — how often to sync (e.g.,
1= daily).Fetch window (days) — how many recent days to fetch on each sync (e.g.,
1= only the last 24 hours).First sync at (local time) — the date/time for the first scheduled sync (local time).

Fill in the sync settings for the selected chat. Sync Now runs the sync immediately, without waiting for the schedule. Use it to instantly pull messages and quickly verify that the integration and settings are working correctly (it will sync using your current Fetch window setting).
🎉 All set! Your Telegram integration is connected. Check Conversations page to see the evaluations after synchronization.